
Turn Color Illustrations into Line Art in Seconds! Speed Up Your Inking Workflow with Copainter’s AI Assistant
Copainter’s AI Assistant automates converting color roughs into clean line art, saving time and focus. Use AI line art as a base, then refine details and style for faster illustration, manga, and webtoon workflows.
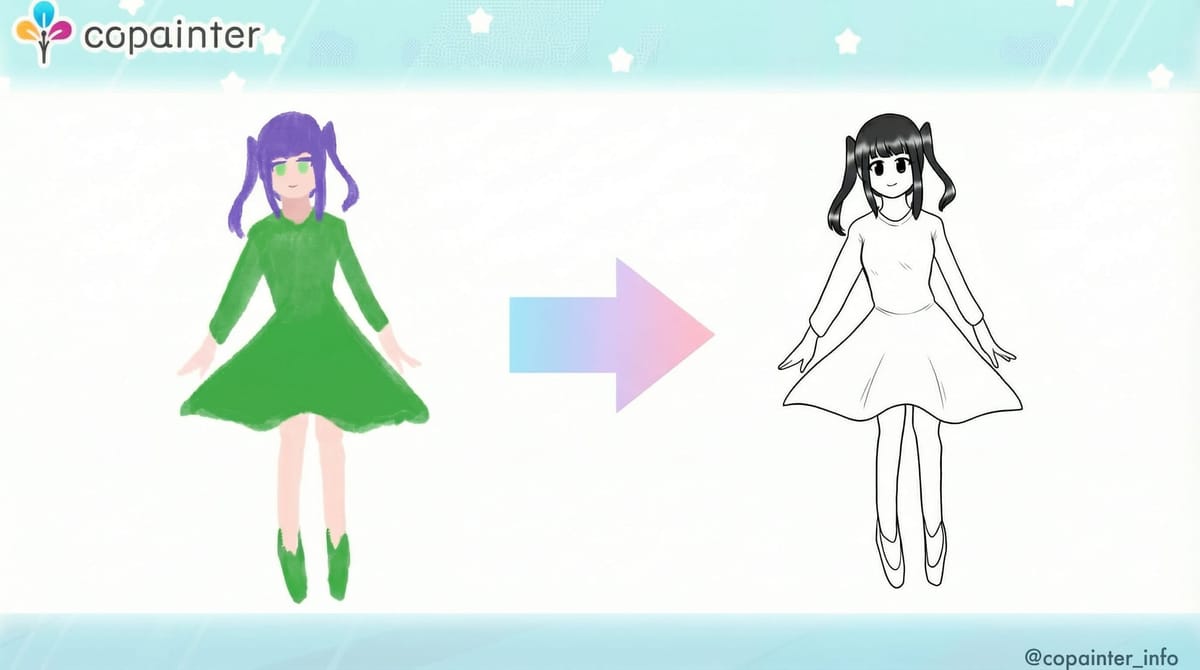
Turning a color rough into clean line art is fun—but it also takes a lot of time and focus. Many creators get stuck at the stage where “the composition and colors are basically done, so all that’s left is the line art…”. With Copainter’s AI Assistant, you can automate a large part of this “color rough → line art” process.
Benefits of Converting Color Roughs into Line Art
Major time savings on line work
Until now, many workflows have followed two steps:
- Draw a rough
- Redraw it as clean line art for inking
The biggest advantage is that you can hand off the line-art redraw step to AI. If you already have a color rough or a quick base paint—and your composition and character design are settled—you can greatly reduce the work of “tracing the same thing again.”
Lower revision cost
AI-generated line art can be used as a final output, but it’s especially recommended to use it as a base. For example, you can:
- Adjust only the placement of facial features
- Redraw only the fingers or hair flow
- Match line weight and variation to your personal style
Because you can focus on partial fixes instead of redrawing from scratch, it’s much faster than starting over from the rough.
Examples: “Color Rough → Line Art”
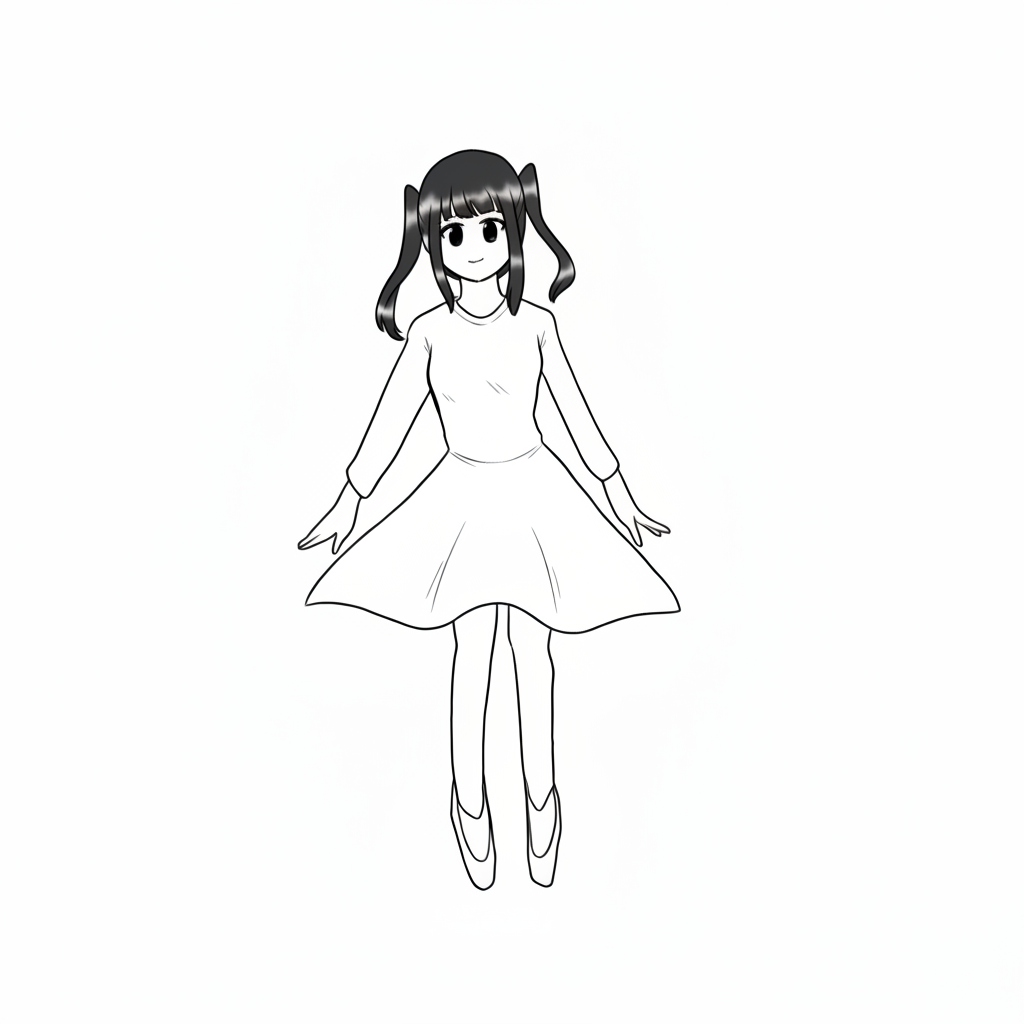
Character standing illustration | From color rough to monochrome line art
Prompt used:
“Convert the character in this image into monochrome line art. Use the input image.”
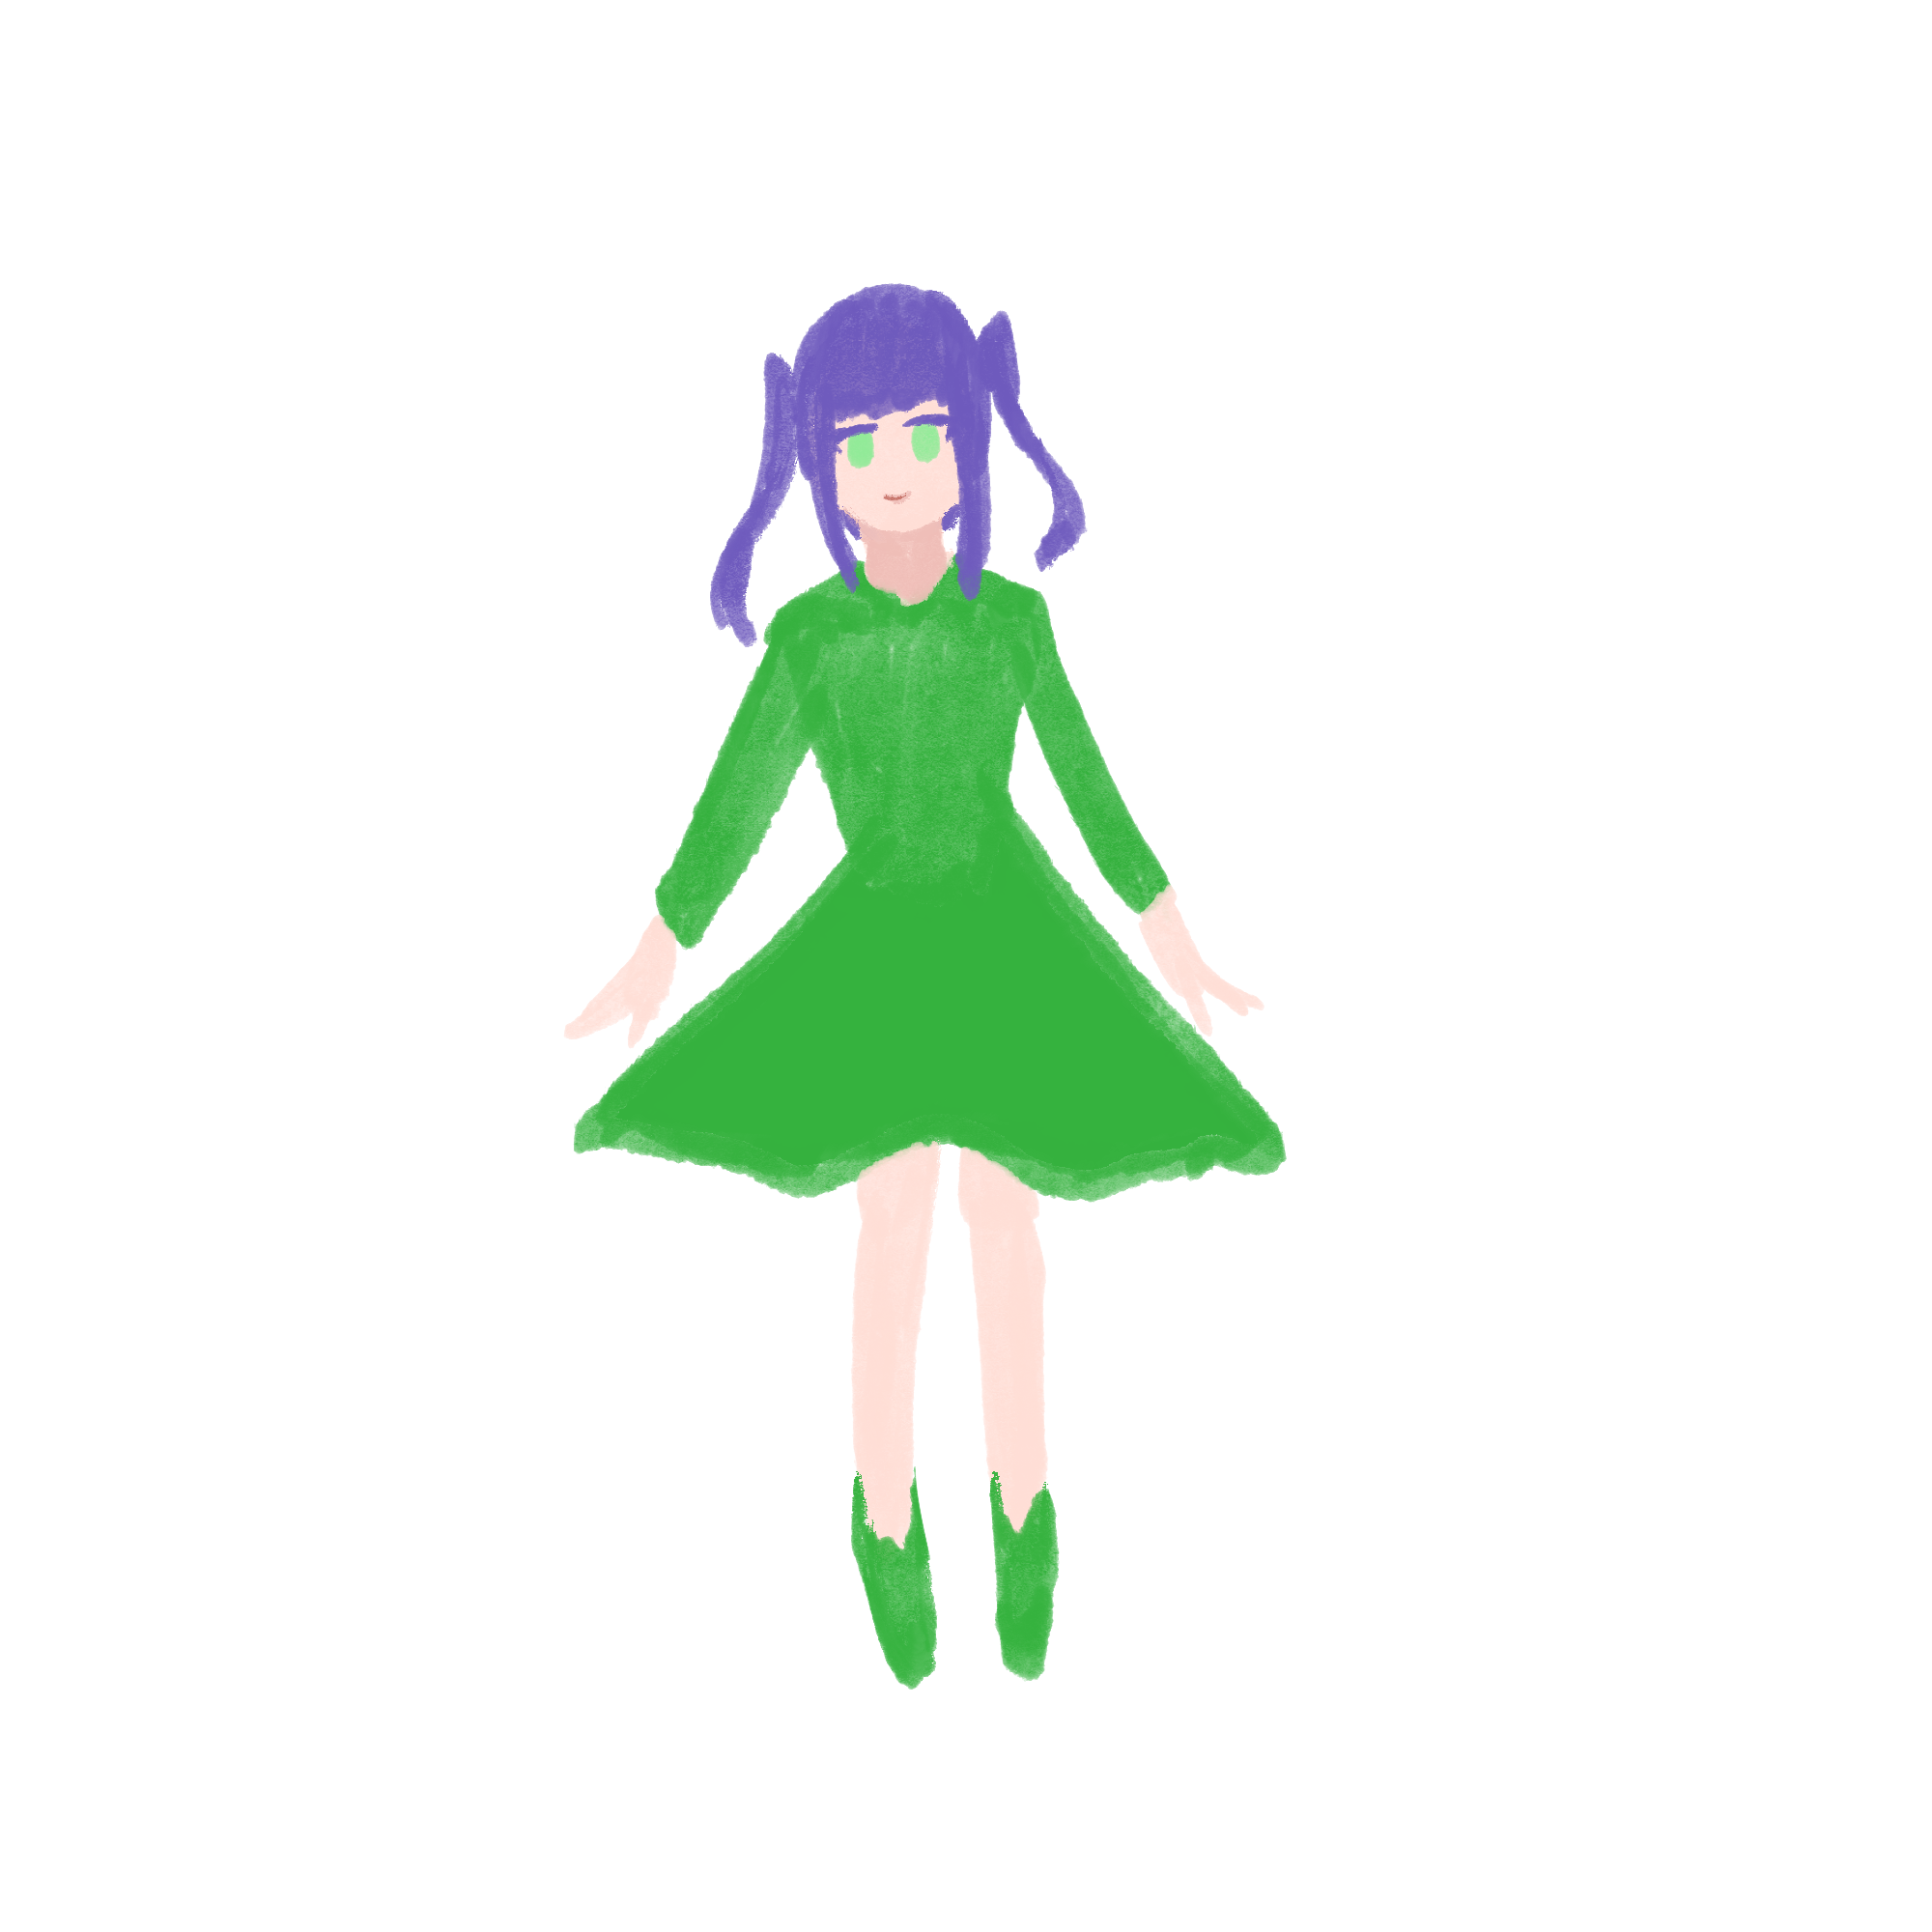
Output image
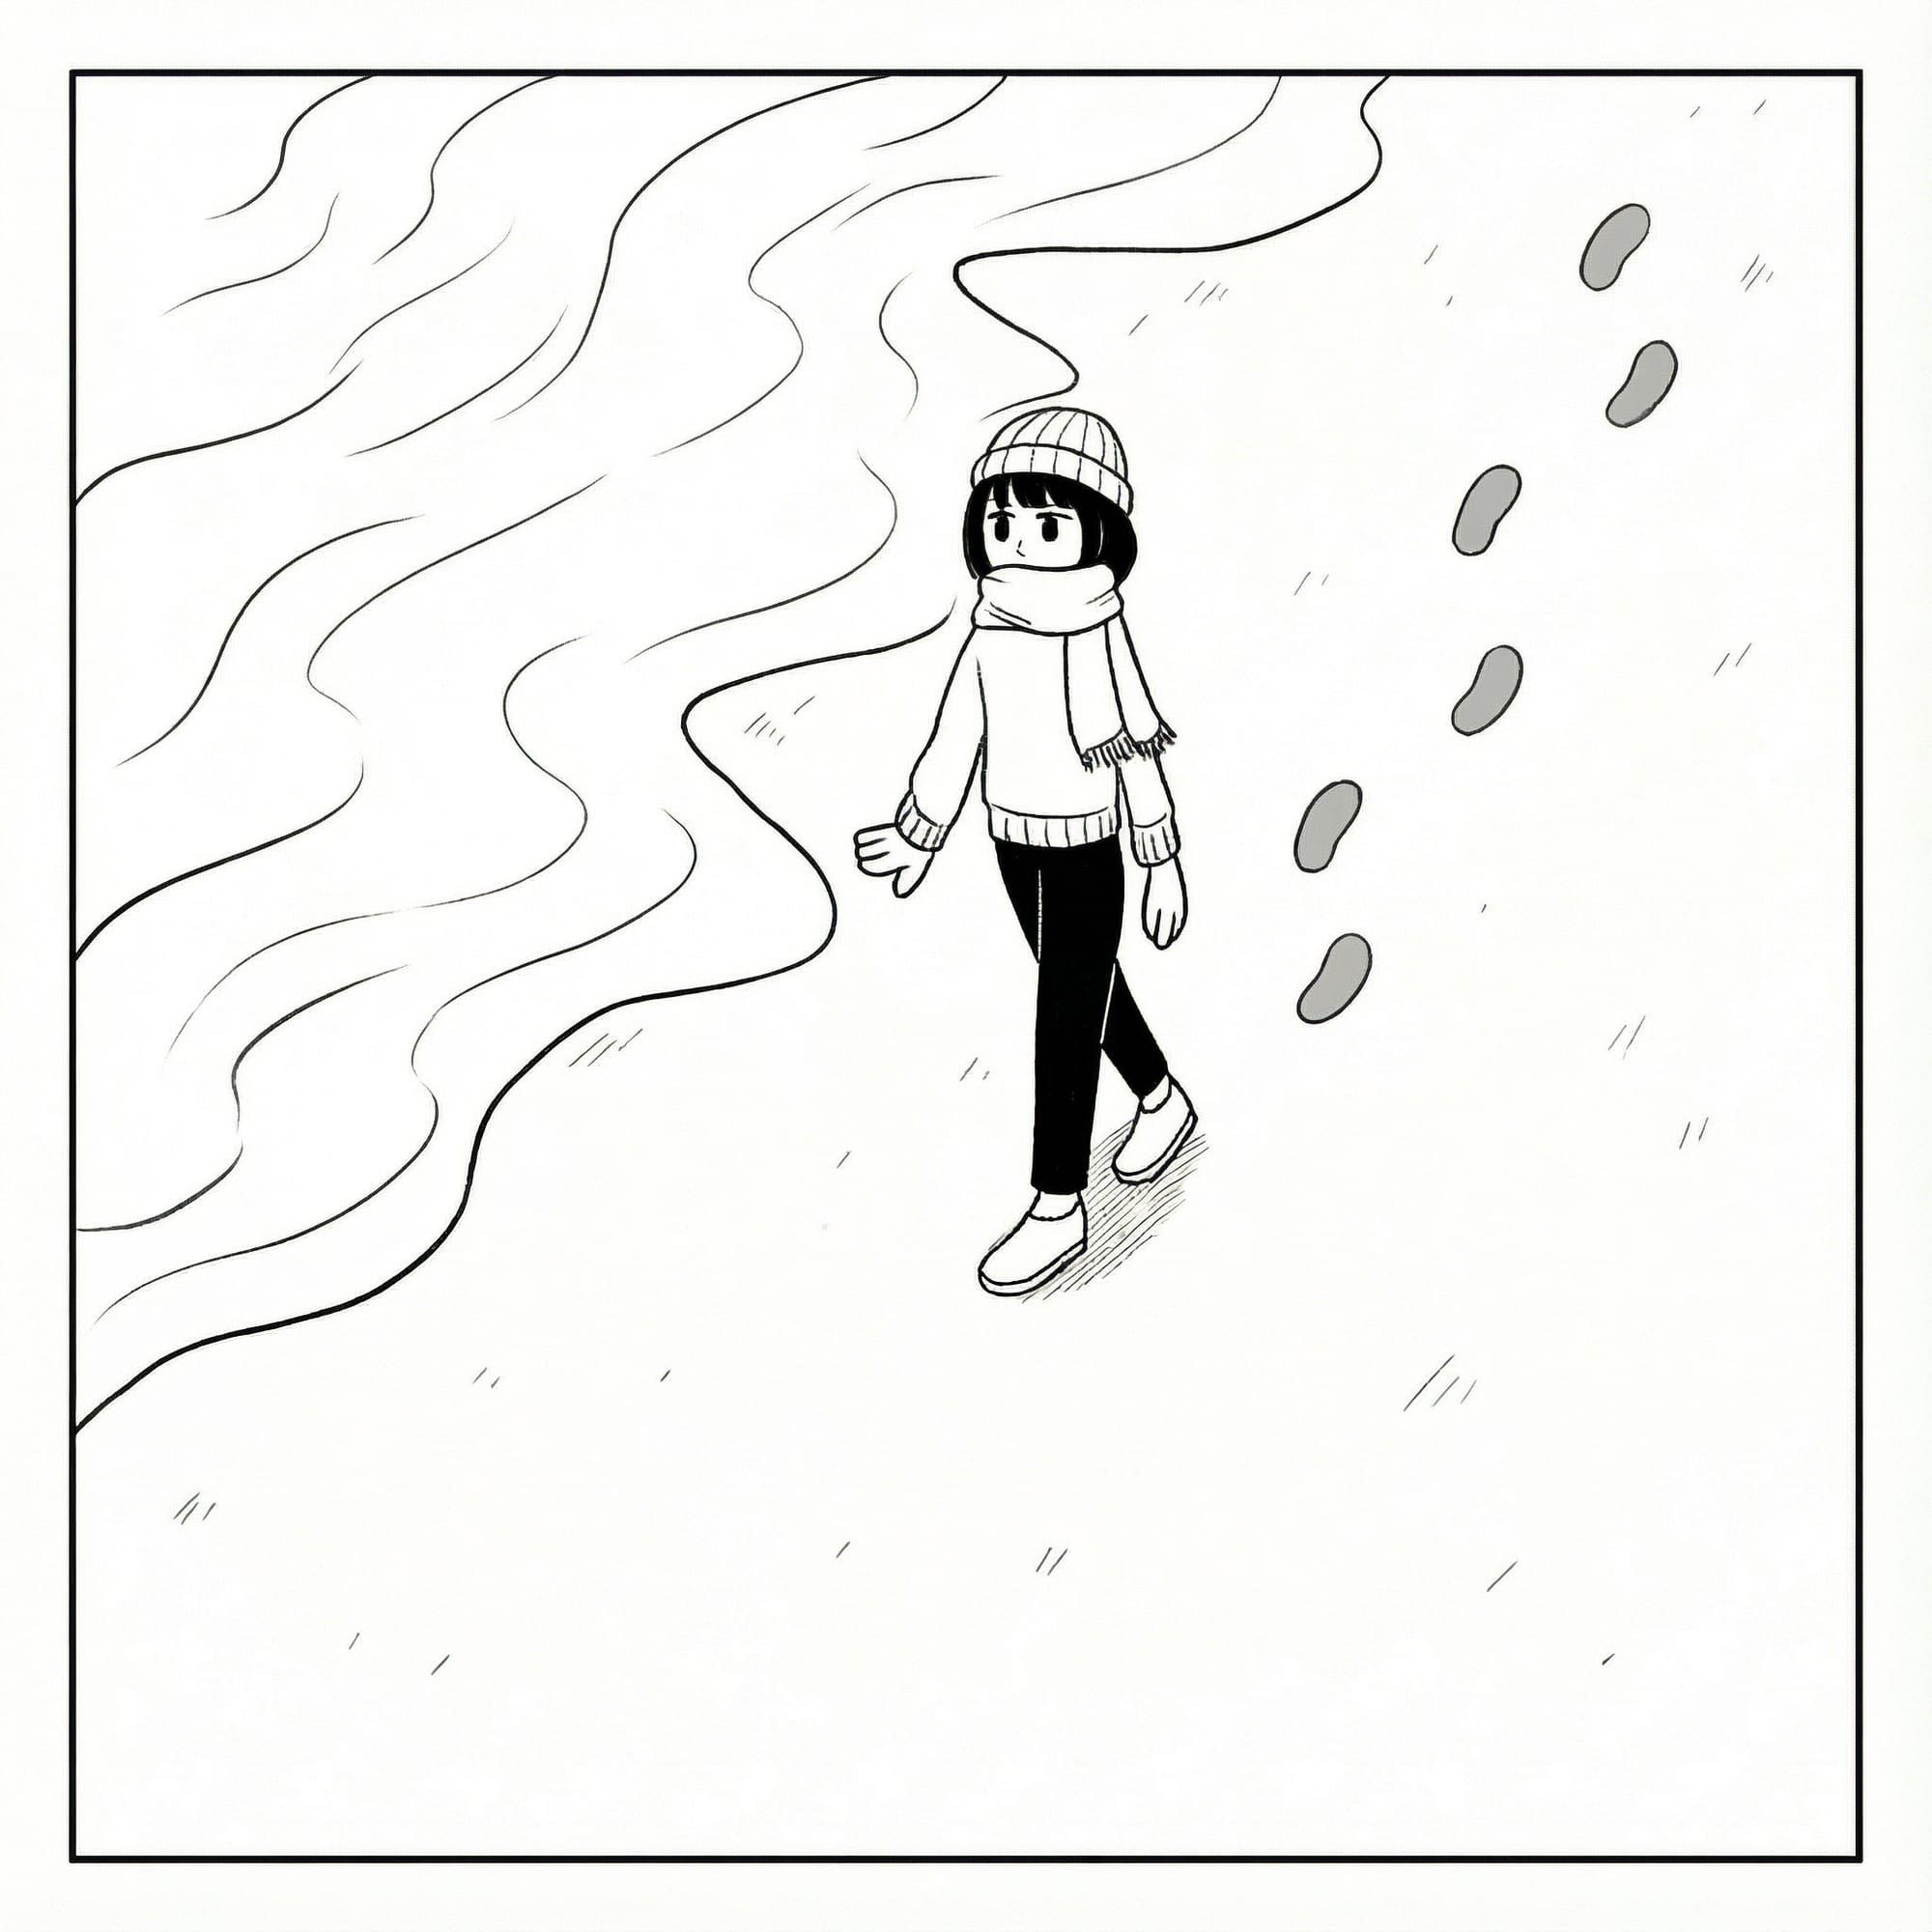
Simple background illustration | From color rough to a manga-style scene
Prompt used:
“Rewrite the lines of the character and background in this image for monochrome manga use. Stay faithful to the reference image. The location is the shoreline. Use the input image.”
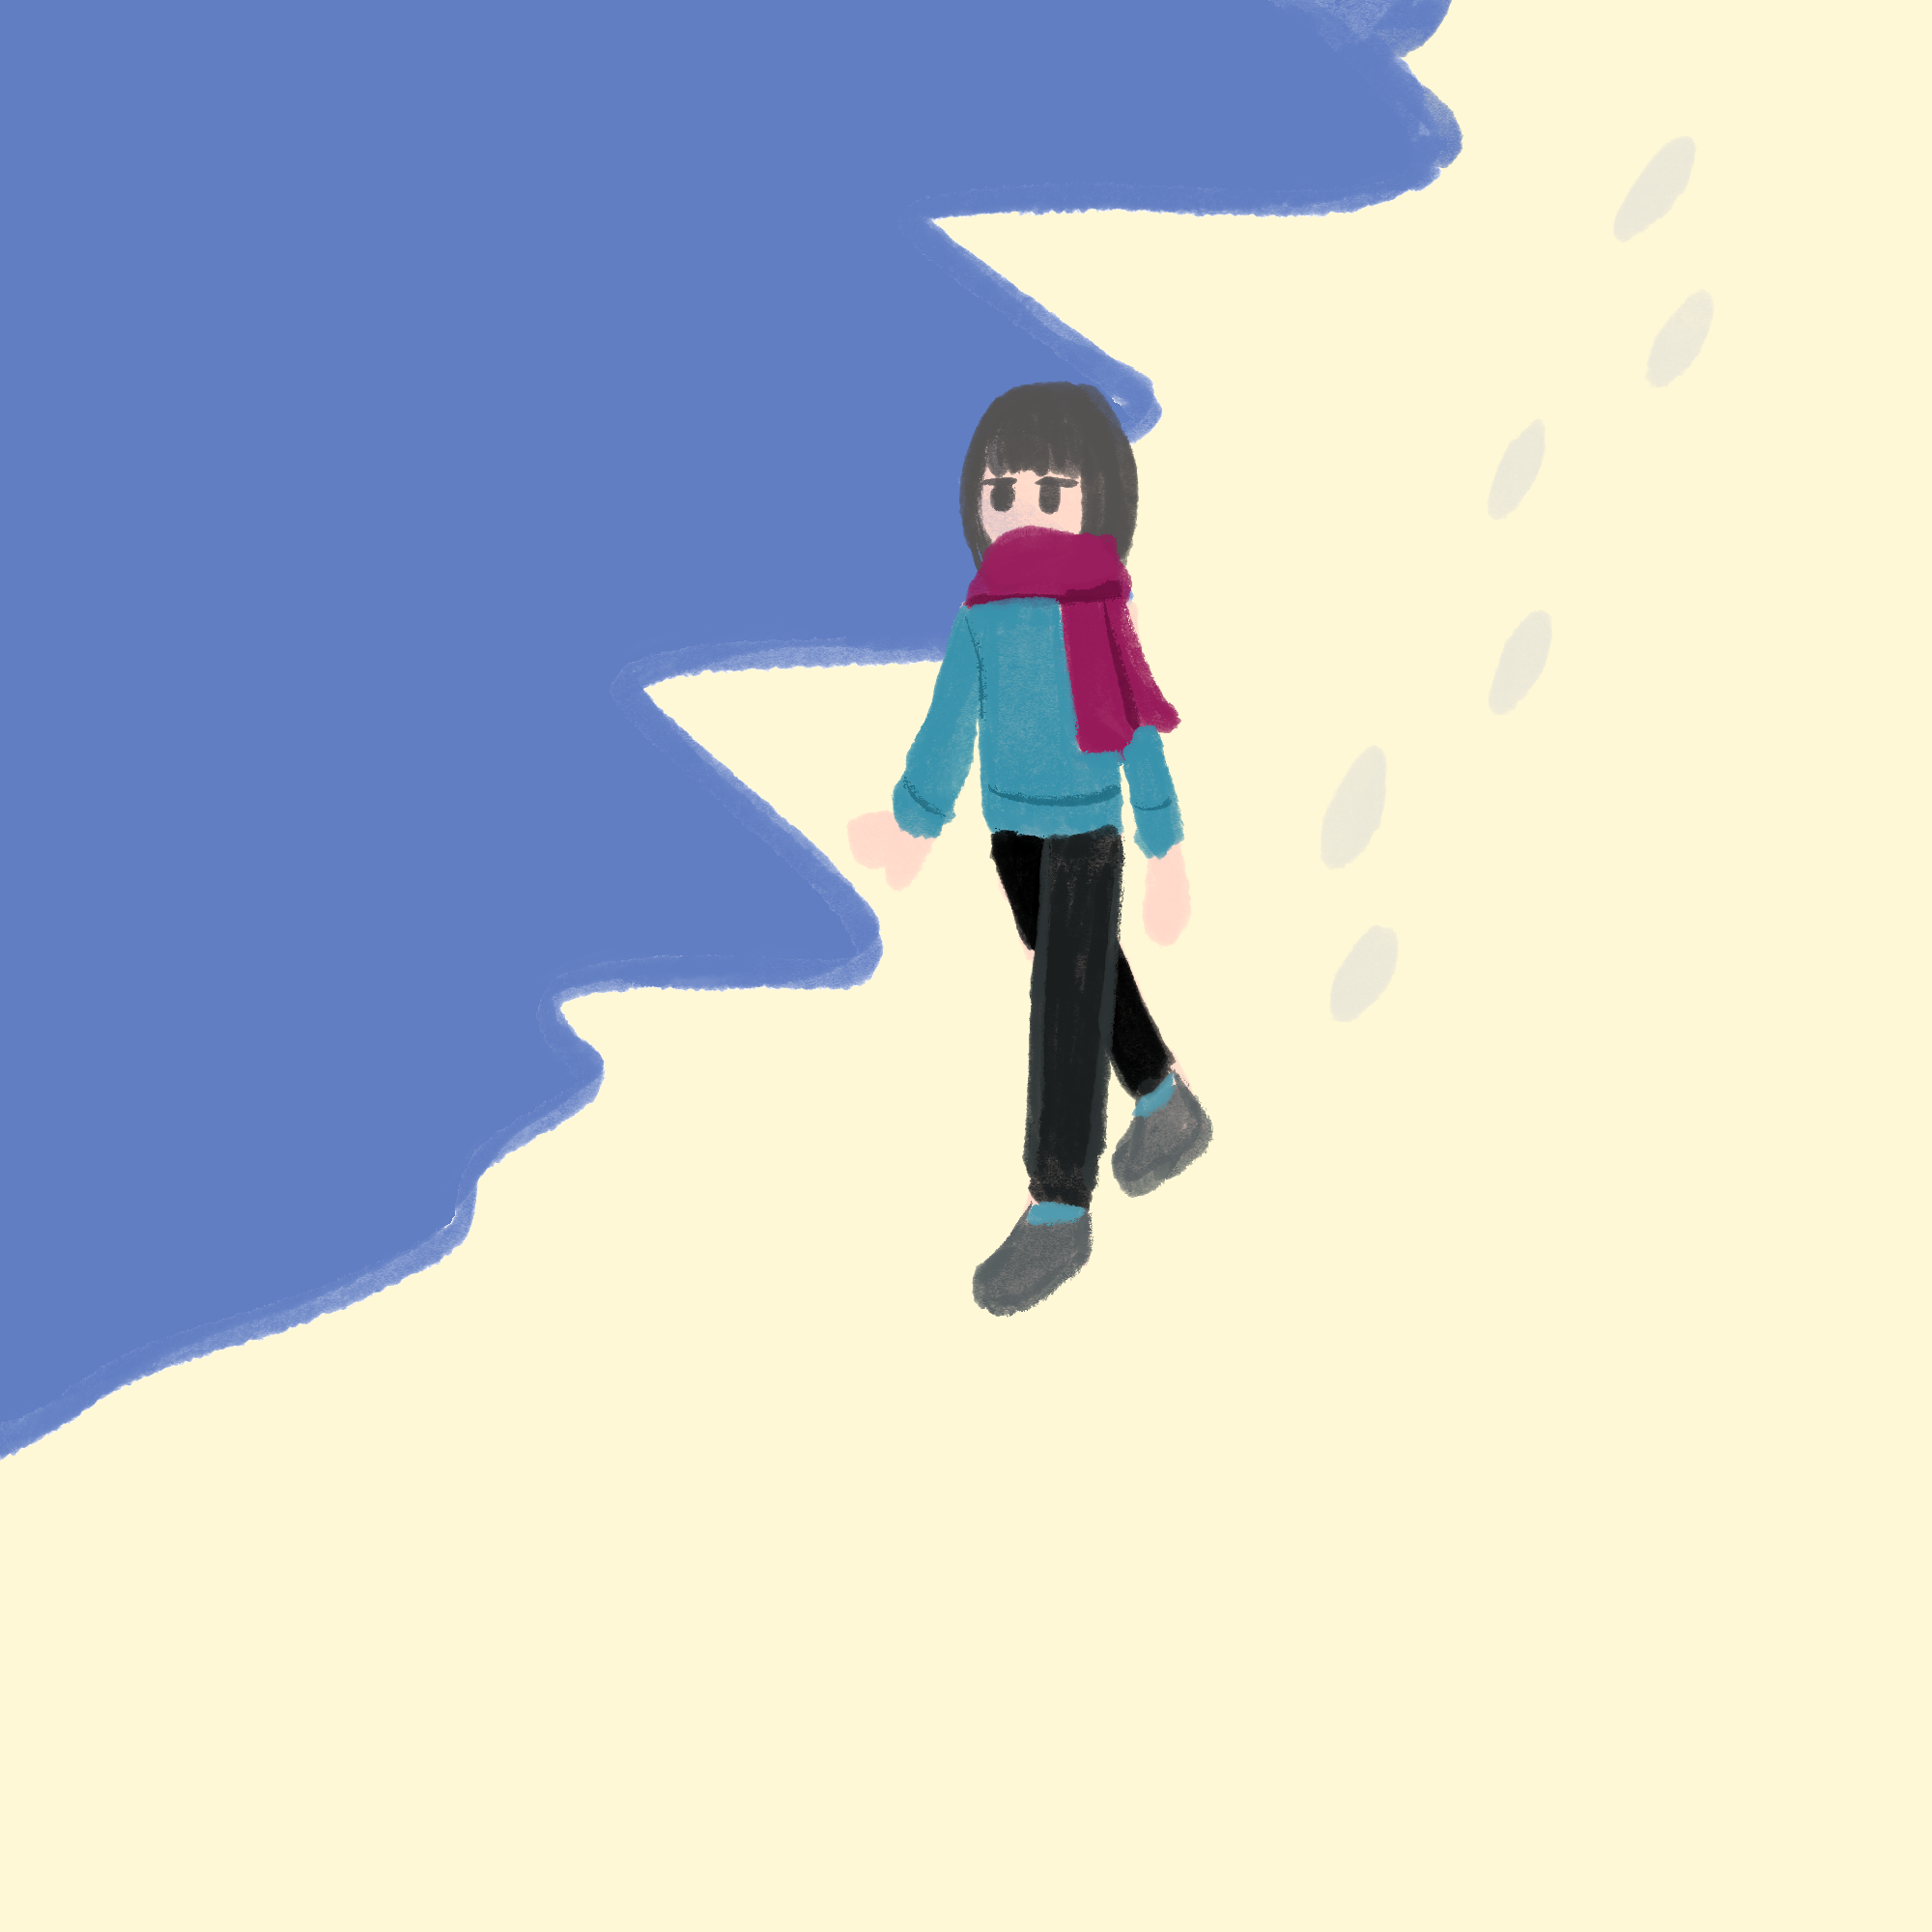
Output image
How to Convert a Color Illustration into Line Art
Below is the overall workflow for converting a color illustration into line art using Copainter’s AI Assistant.
1) Prepare the source illustration
Start with the color rough you want to convert. Results are more stable when the information you want to keep is fairly clear, such as:
- Face position and facial features
- Hand/finger shapes
- The basic shape of the hairstyle and outfit
2) Upload to Copainter
- Access Copainter
- Select the AI Assistant feature
- Upload the color illustration you want to convert
At this point, you haven’t told it to “make line art” yet—so you’ll do that in the next step via a prompt.
3) Instruct “line art conversion” with a prompt
Describe in text what kind of line art you want. The more specific you are, the closer you’ll get to your intended result. For example:
- “Turn this character into monochrome line art. No shadows or colors.”
- “Make clean, anime-style line art. Use slightly thin lines, with subtle variation on the main outlines.”
- “Simplify the background and create line art that clearly shows the character and key parts.”
4) Check the generated result
It won’t always be perfect in one pass. If something feels off, adjust your prompt or revise the input image and try again.
5) Fine-tune
After conversion, you decide “how much of the AI lines to keep” and “where to overlay your own lines.” Typical adjustments include:
- Redrawing only the parts you care about
- Unifying line thickness and fixing line variation
- Erasing unnecessary lines
- Adding fills or screentones as needed
Tips for Getting Clean Line Art
Be as specific as possible in your prompt
“Make it look like line art” leaves too much room for interpretation. Instead, specify both purpose and style, such as:
- “Please make monochrome line art.”
- “Not sketchy lines—clean, finished line art.”
- “Main lines for manga manuscript use. No paint or shadows.”
Simplify the source illustration when possible
If the color information is too complex, the AI may struggle to identify contours. For extremely detailed patterns or decorations, consider simplifying them first and adding details later—this often improves accuracy.
Attach a line-art reference
If you have an example of the line style you want, adding a reference image can make outputs more consistent.
Find and save your “best settings”
Line art results vary depending on the input image, resolution, and prompt. When you get a result you like, note:
- The characteristics of the input image
- The prompt
- The finishing state of the illustration
This makes future work much easier.
Use Cases
1) Game development / character sprites
- Generate many character concepts as color roughs
- Convert only the selected ones into line art with AI
- Create final polish and variations (expressions, outfits)
This speeds up the pipeline from rough to line art significantly.
2) Manga / Webtoon production
- Convert completed storyboard/rough panels into line art in batches
- Use a hybrid approach: AI line art for backgrounds + your own line art for characters
If you don’t have time to draw backgrounds, using AI line art as a draft and drawing over it is a great match.
3) Illustration / social media posting
- Convert color sketches into line art and share them as “line art resources”
- Post both “line art + color version” with the same composition for a making-of style presentation
4) Educational / tutorial materials
- Convert your color illustrations into line art and distribute them as coloring practice worksheets
- Prepare sets of line art + finished illustrations for classes and workshops
Summary
Converting a color illustration into line art is an essential step in the creative process—but it also consumes a lot of time and energy. With Copainter’s AI Assistant, you can upload an image and give simple instructions, then use the AI-generated line art as a foundation—so you can spend more time on polishing and adding your personal touch.
If you have many color roughs but haven’t had time to turn them into line art, try “color rough → line art” with Copainter’s AI Assistant.
![[Free Download] Chibi Character Battle Pose Collection — Free for Copainter Users, Including Commercial Use](/content/images/size/w720/2026/03/header_pose-collection_battle-of-deformation-character-1.png)
![[Free Download] Female Battle Pose Collection — Free for Copainter Users, Including Commercial Use](/content/images/size/w720/2026/03/header_pose-collection_battle-of-woman-1.png)
![[Free Download] Male Battle Pose Collection — Free for Copainter Users, Including Commercial Use](/content/images/size/w720/2026/03/header_pose-collection_battle-of-man-1.png)